
How to Make the Most of Your Chillhouse Nails: A Few Tricks and Advice In recent years, press-on nails have undergone one of the most remarkable transformations. For Chillhouse, we’ve replaced the shoddy drugstore stick-ons that peeled off minutes after application and left your nails broken. Their sleek, contemporary designs go well with my saved nail art inspiration Instagram folder. They’re also surprisingly durable and come with nontoxic glue that won’t damage nails. Here are some tips and methods for flawless application and removal in case you’re ready to give the editor-approved advice a try and avoid making the same blunders I did.
How to Use Chillhouse Nails How to Make the Most of Your Chillhouse Nails: A Few Tricks and Advice
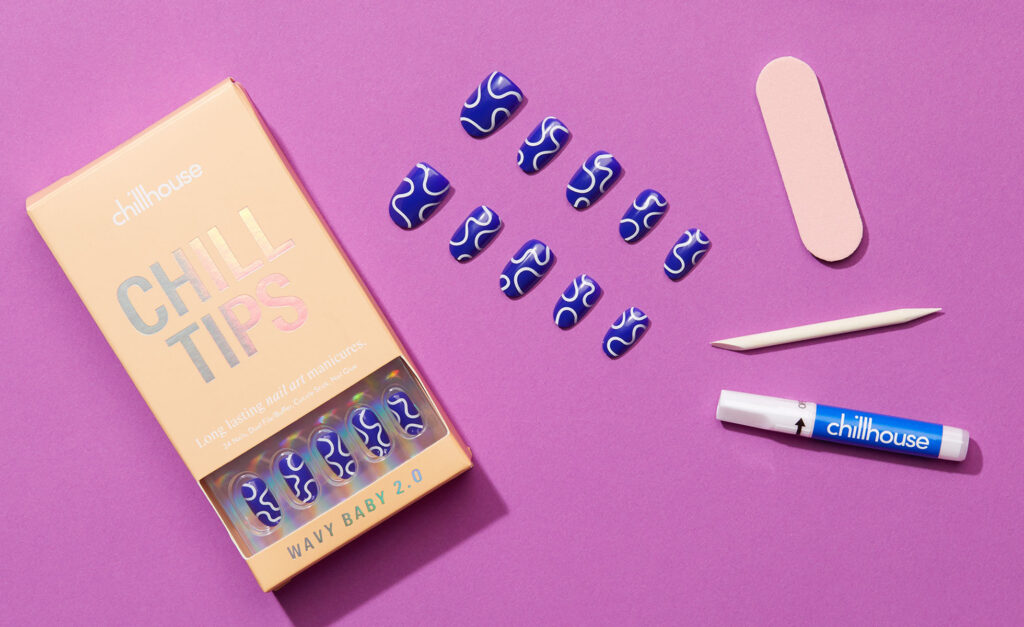
To help you find the ideal fit for every nail, the set includes 24 nails in addition to non-toxic glue, a dual-sided file-buffer hybrid, and a cuticle stick. Stated differently, all the necessary components for a perfect application.
1.Get ready
I suggest buffing nails and pushing cuticles back with the supplied tool or your favorite tools to maximize weartime. Remember to cleanse your hands or use alcohol to ensure that nothing is obstructing the tips of your nails. To prevent any confusion, try the nails on for size and mark out the ideal fit for each finger, starting with the thumb and working your way down to the pinky.
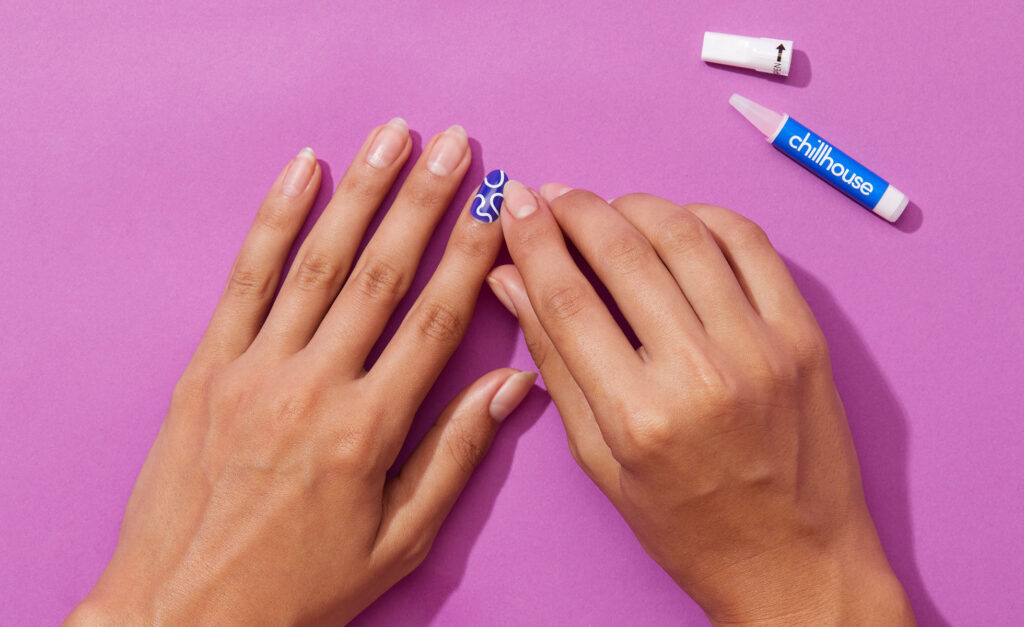
2.Use adhesive
I followed Chillhouse’s directions and put a thin, even layer of glue on the back of the press-ons and more on my nail. I then waited three seconds, applied the press-ons, and evenly pressed down on each nail for at least thirty seconds. Their longevity increases with the amount of glue you use.
Pro tip: Make sure to apply a substantial amount of glue in a uniform layer on your natural nail if you want the nails to last for seven to ten days. Due of my light hand, I unintentionally pulled off a couple of nails.
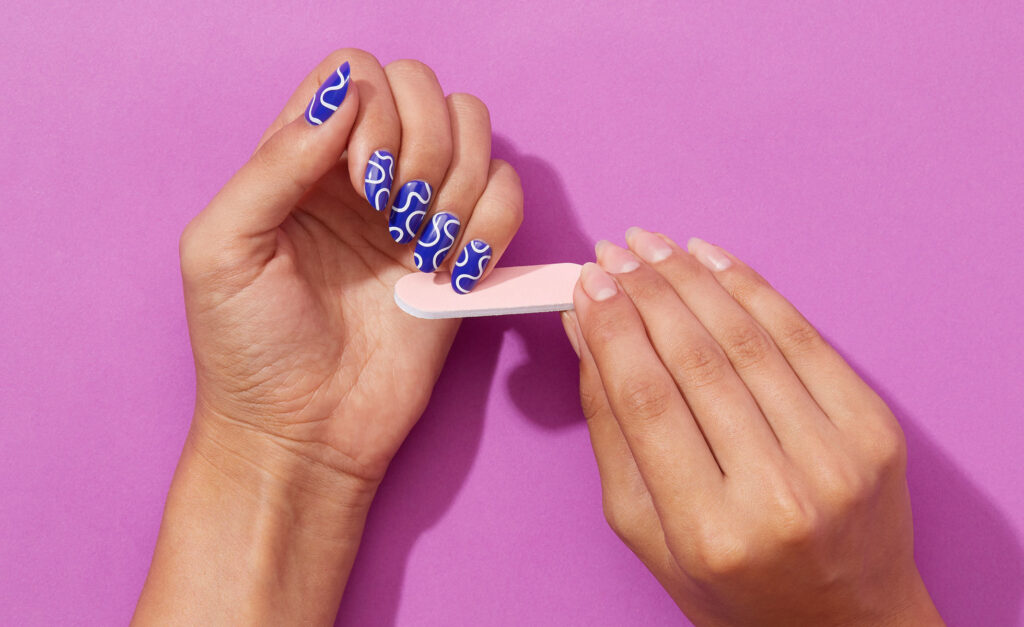
3.Modify
You can file the nails after application to achieve the desired appearance. I skipped this section because they came with an oval form that was the ideal length for me—not too long, nor too short.
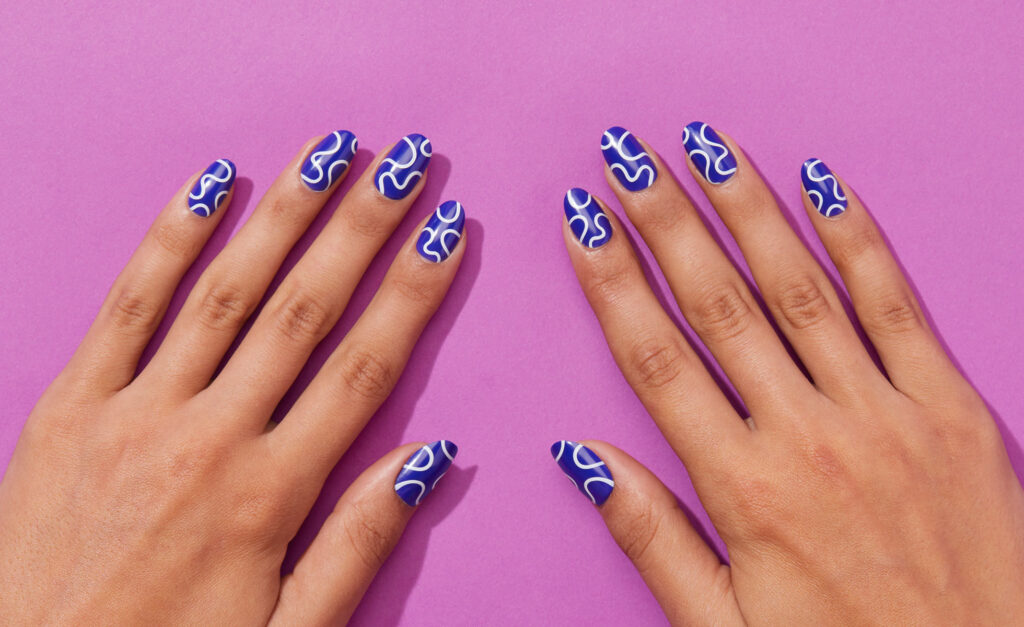
4.You can now proceed!
There is no need for a further waiting period because the nail adheres in 30 seconds. Without any problems, I painted my nails just before packing for a flight the following morning.
Taking out the chillhouse nails
Waiting for the Chillhouse nails to begin to gape somewhat at the sides or edges is the key to getting rid of them. The initial soaking process should work even if the nails aren’t ready yet but you are.
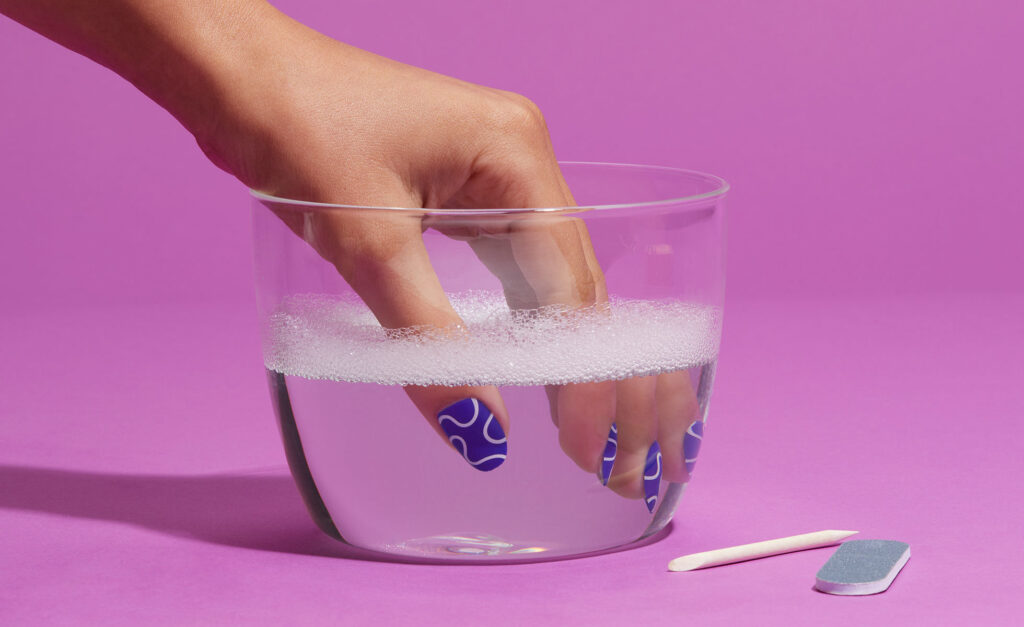
1.Immerse
Soak nails in warm water to begin. Chillhouse suggests putting some oil or mild soap in the water; I chose the oil option to take care of my skin and cuticles at the same time.
Be aware that although acetone can also work wonders, it can also harm the press-ons. I wouldn’t recommend taking this path if you intend to reuse the suggestions.
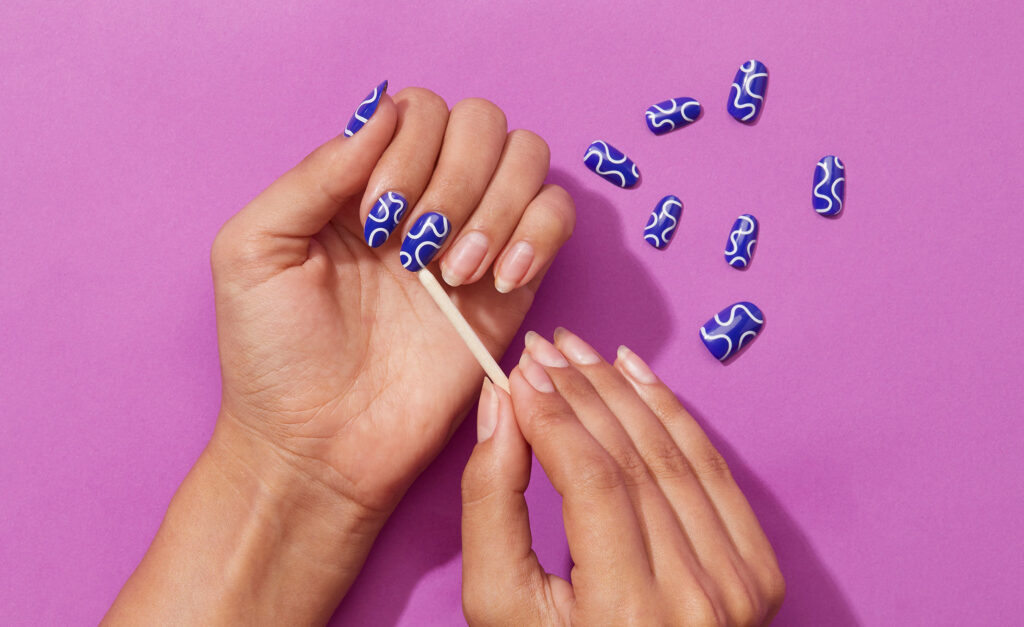
2.Take out
Nails should be soaked for a few minutes. Then, using the included cuticle stick or your preferred one, gently peel the nails off. Take your time and be careful not to break the Chillhouse nails. To be honest, I damaged a couple of nails in my hasty attempt to yank them off. Again, be as gentle as possible when extracting the nails if you wish to save them for later usage.
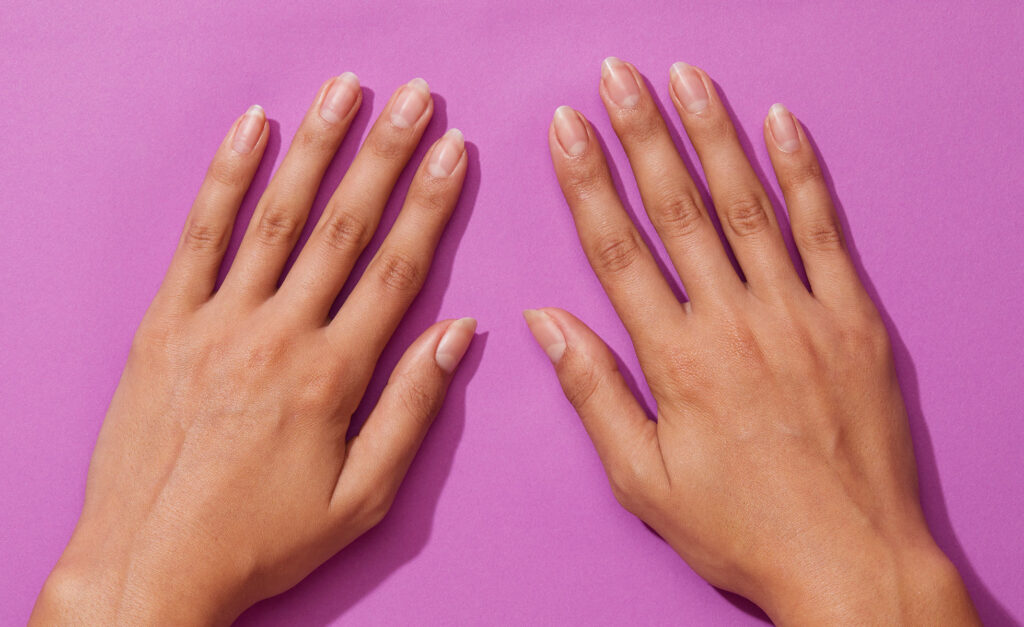
3.That is all.
I quickly cleaned myself after removal by filing, buffing, and pushing back cuticles. The removal procedure is not only quick and easy, but it also leaves your nails intact with no sign of glue or press-ons.
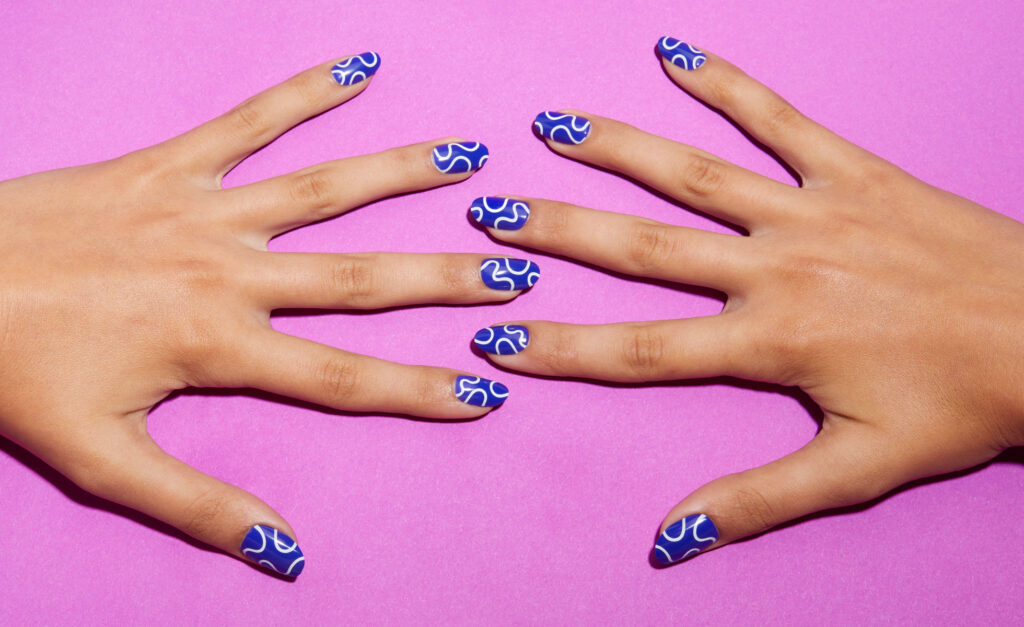
The ultimate decision
If you think it’s impossible to get an Instagram-worthy manicure for $16 without going to a salon, I’m here to prove it! The nails are very durable and quite easy to apply! I would bring the adhesive along in case you wanted to leave them on while traveling or for a longer amount of time. Although it was more user error than a nail default, I did have a few nails pop off. Finding the ideal glue ratio may need some trial and error, but if you get the hang of it, you can have a salon-quality manicure (that receives tons of praise) in a matter of minutes!
Leave a Reply